Hi Besties💕
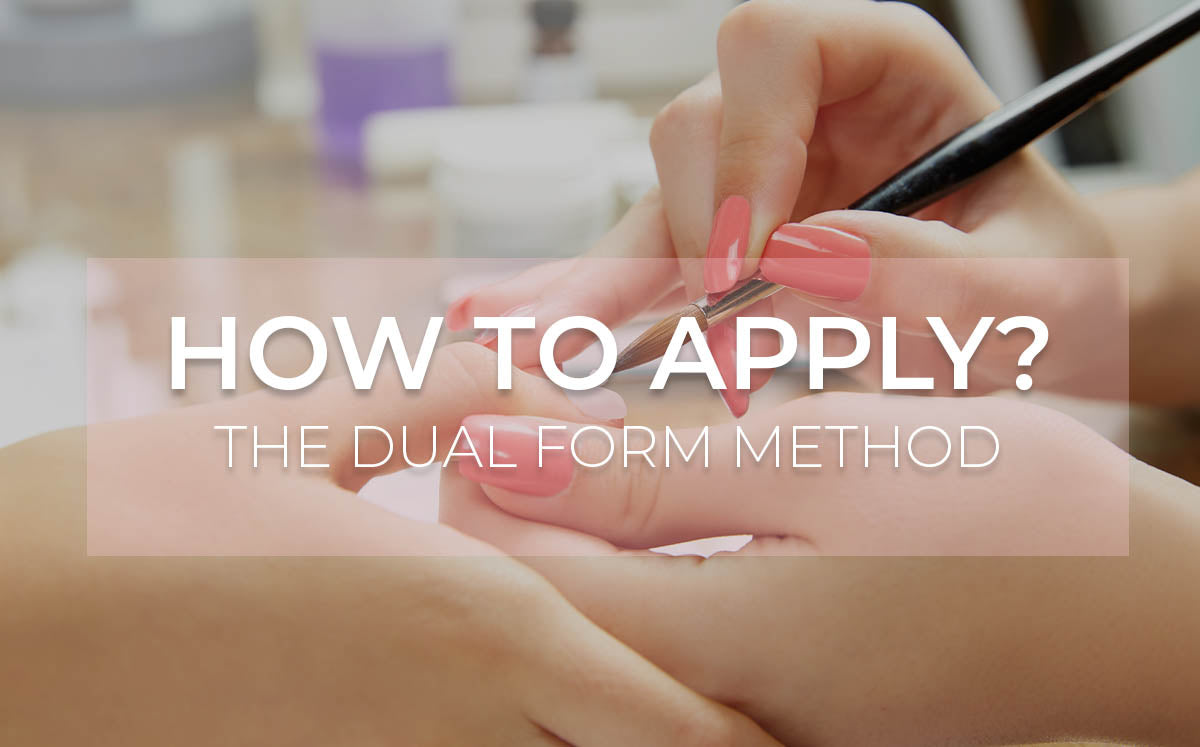
Welcome back to another blog post. We just organized this little step by step instructions on how to apply Polygels using dual forms. There are many ways to get your nail extension with polyge. Dual form method is the most beginner friendly. For more advance techniques. Just youtube search polygel and there are tons of awesome tutorial out there to learn from. We hope you find this little instruction helpful and please leave us a comment below if would like us to find you more tips and tricks! Happy designing! Practice makes it perfect!

Step 1
Prep your nails! MUST DO IT. For long lasting effect.

Step 2
After prepping your nails. The first step is apply a thin layer of base coat and cure for 60 seconds with LED Nail Dryer.

Step 3
Take your time to pick and choose the dual forms for all 10 fingers. Make sure get the right size before you start!

Step 4
Squeeze or use the picker to place the polygel onto the dual form. Just start with a little amount and add more when needed!

Step 5
Wet your nail brush with alcohol or slip solution to form the polygel smoothly. You can't shape the gel without it. Or Use BASE COAT if you don't have any! Base coat works just fine but not as good as Alcohol or slip solution.

Step 6
Shape the polygel and add more if needed to the thickness that you desired.

Step 7
Place the form onto your nail and make sure remove the excess and cure for 60 seconds.

Step 8
File and trim the hardened polygel to the shape and length and thickness to your liking.

Step 9
Last but not least, apply a layer of top coat to seal it off from scratch.
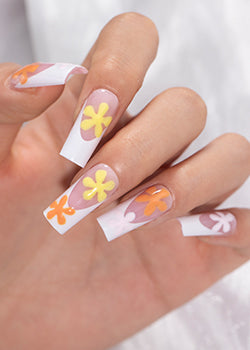
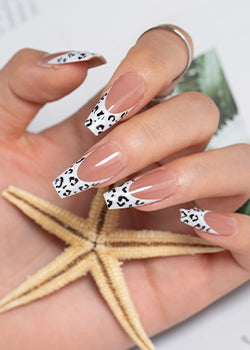
Hola, your nail extension is almost done. Now you can start putting decor onto it to make it as pretty as possible. We hope you find this little step instruction useful and please always let us now if you have any question. -XOXO


